This manual introduces all key features of F-Connect:
the
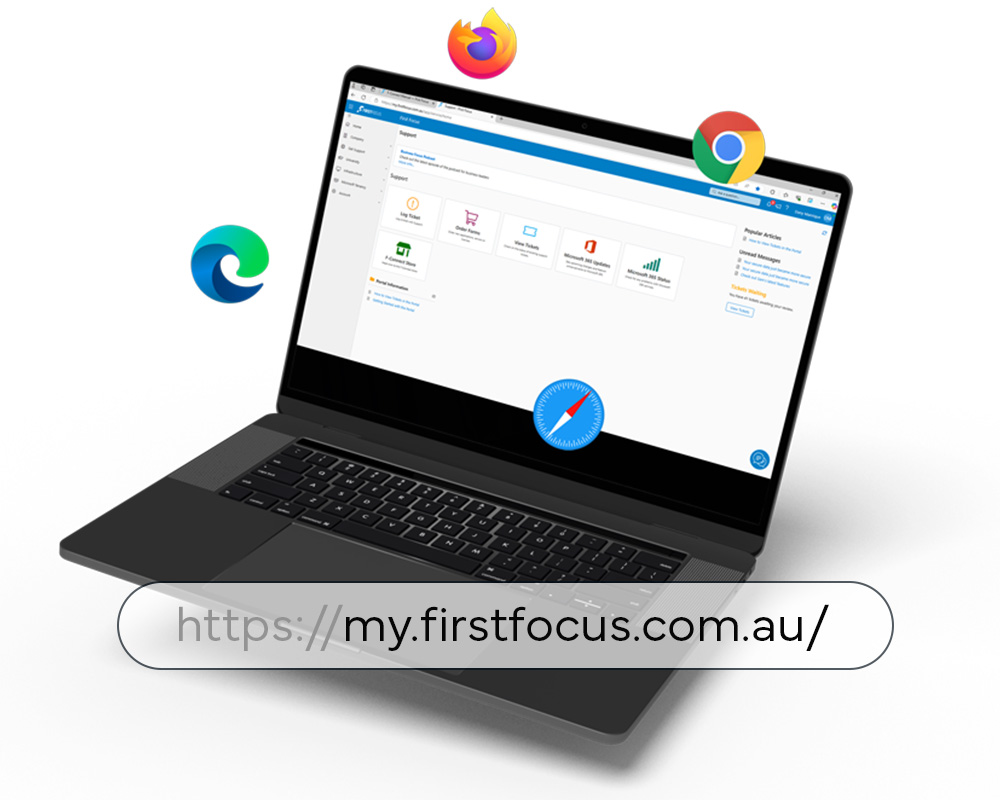
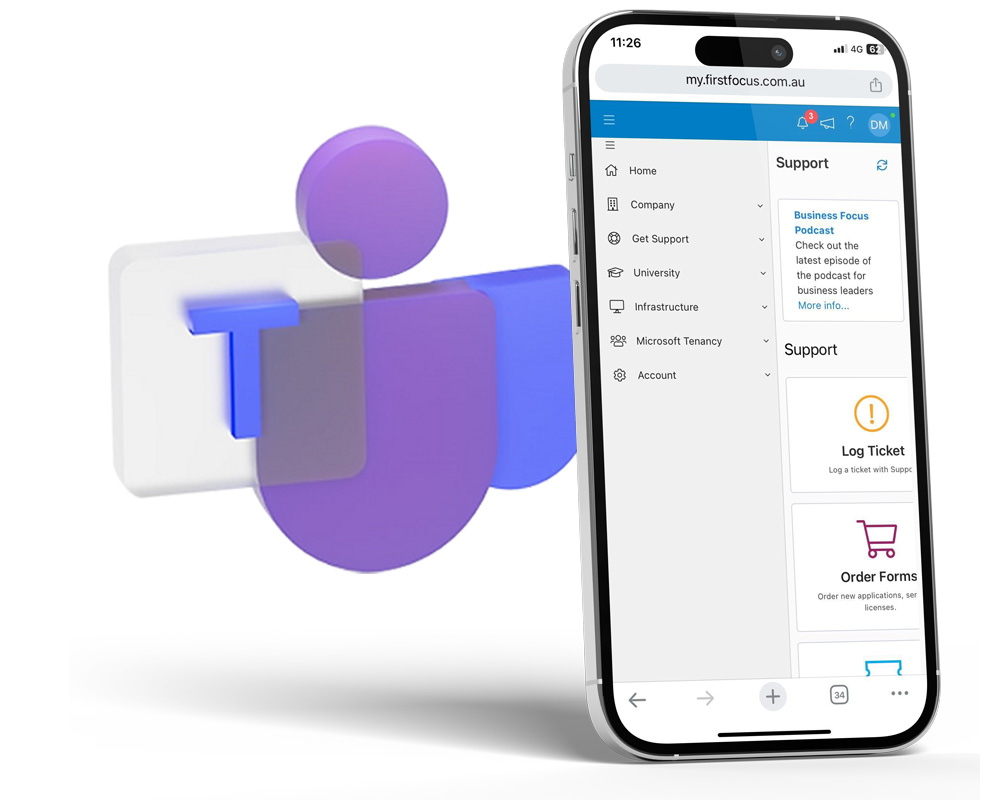
First Focus support platform. F-Connect is
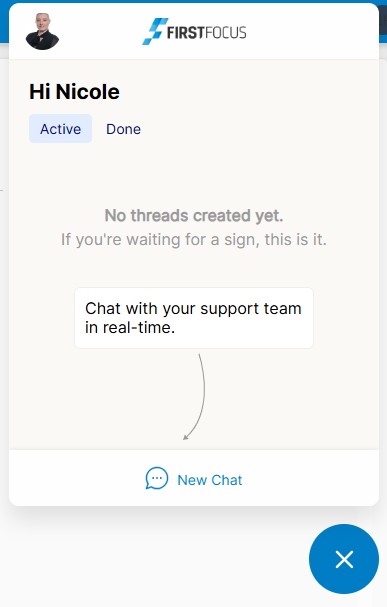
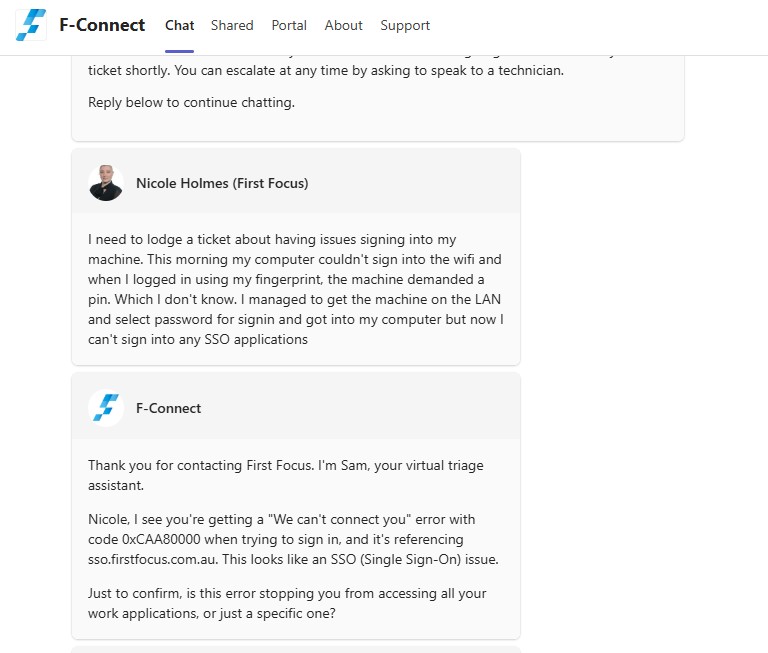
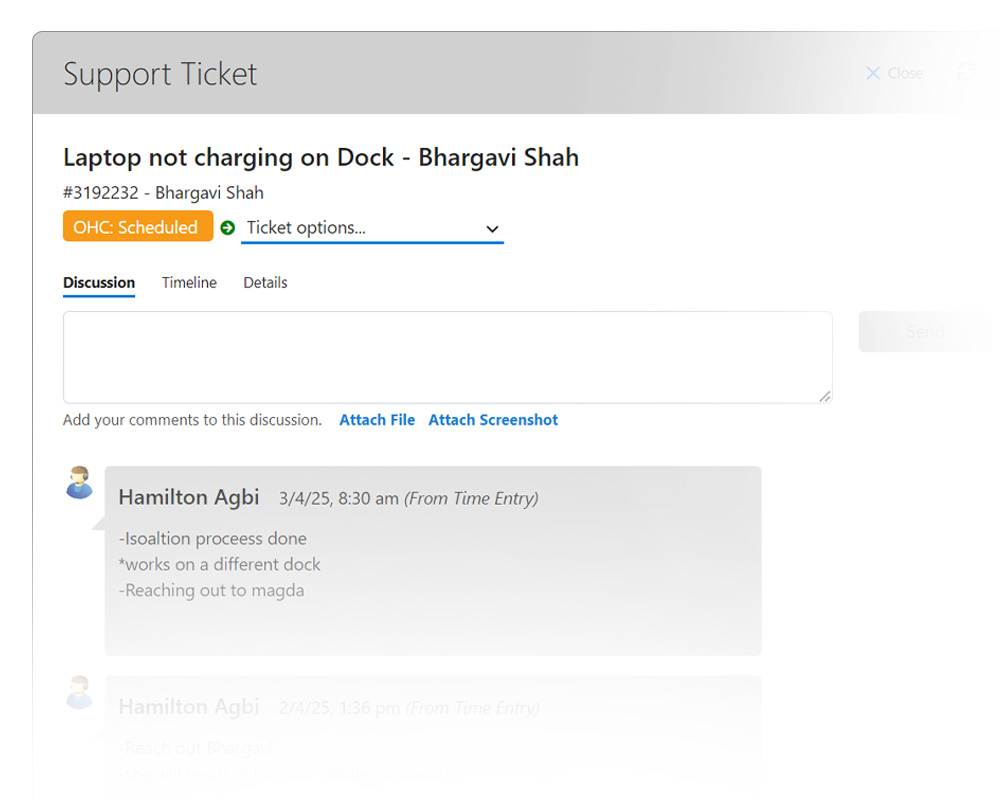
your central point of access for managing requests, chatting directly with technicians, and
staying
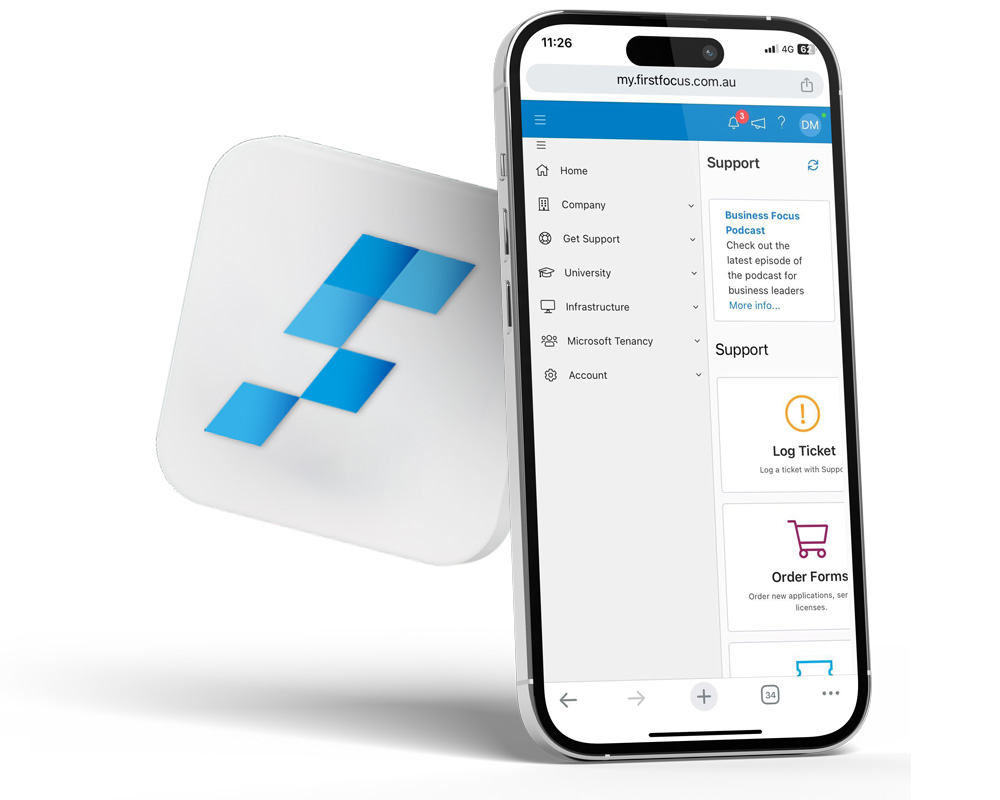
aligned with our team - all in one streamlined, easy-to-use interface.
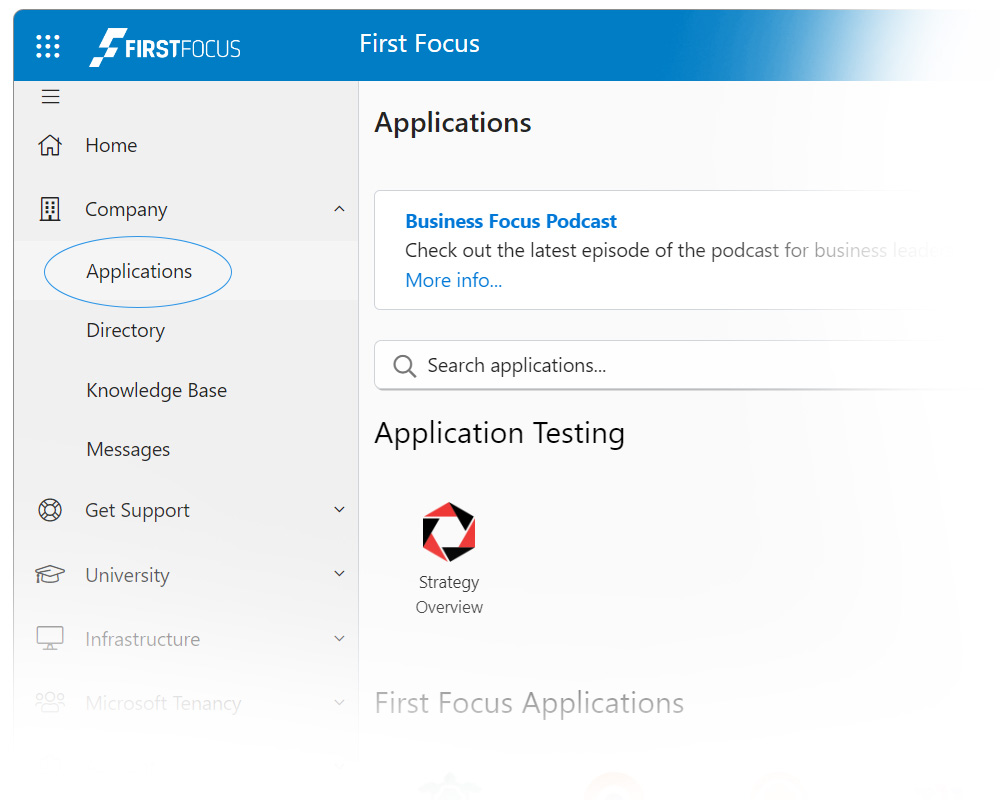
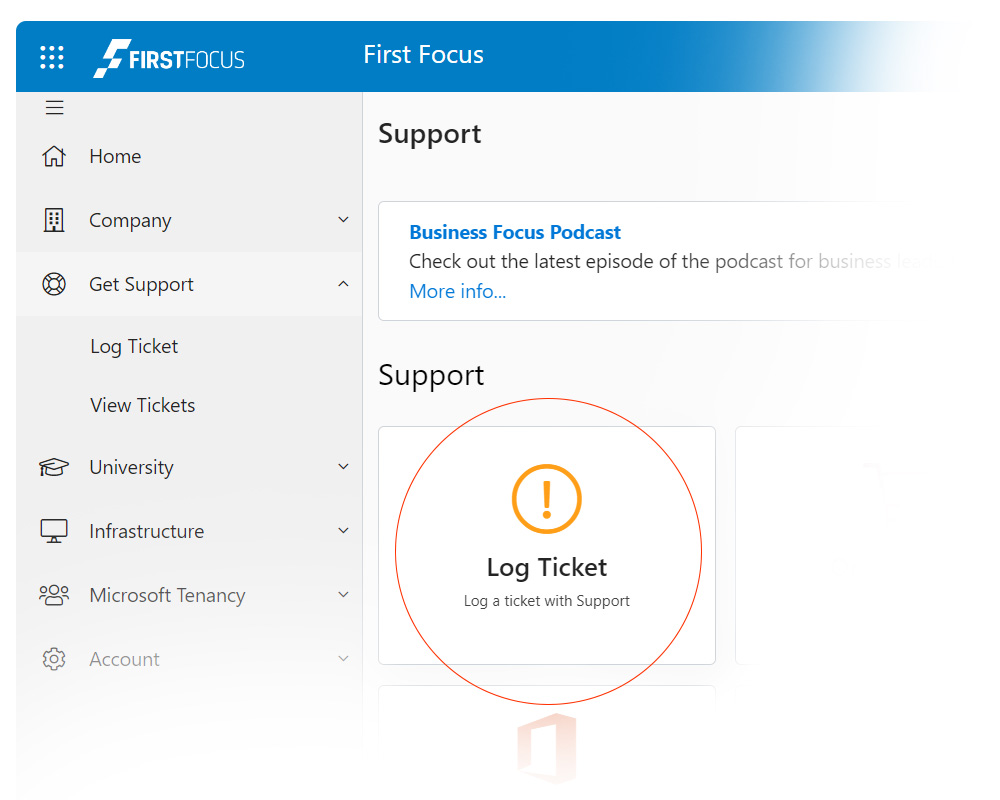
Use the menu on the left to explore topics at your own pace.
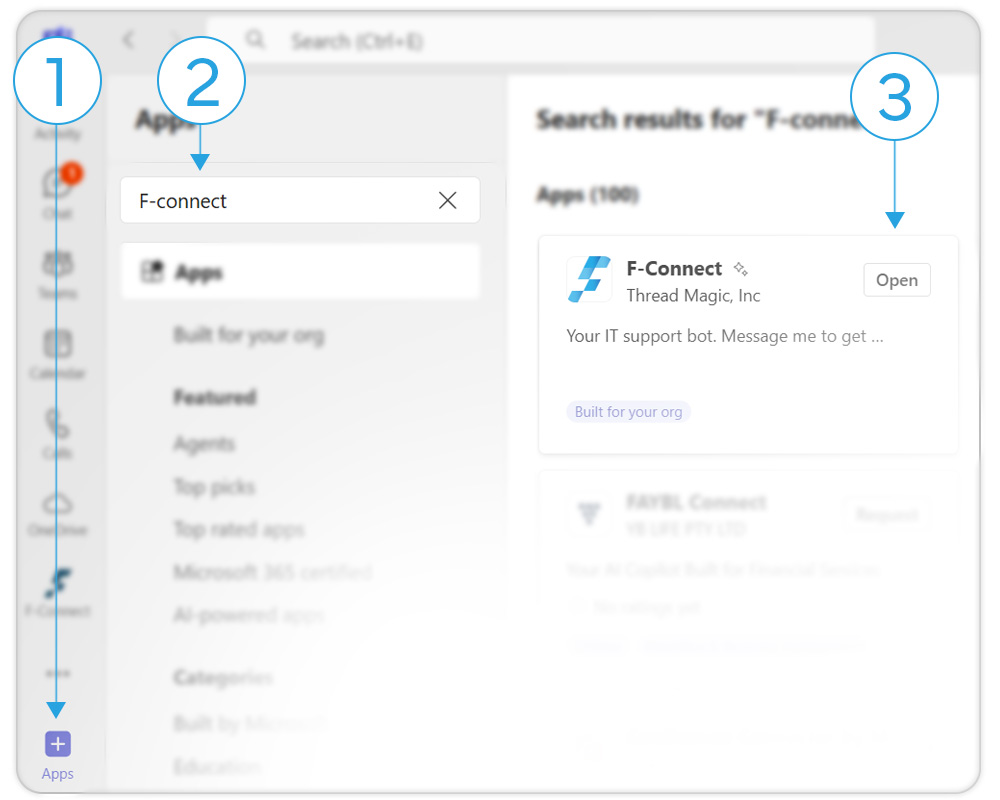
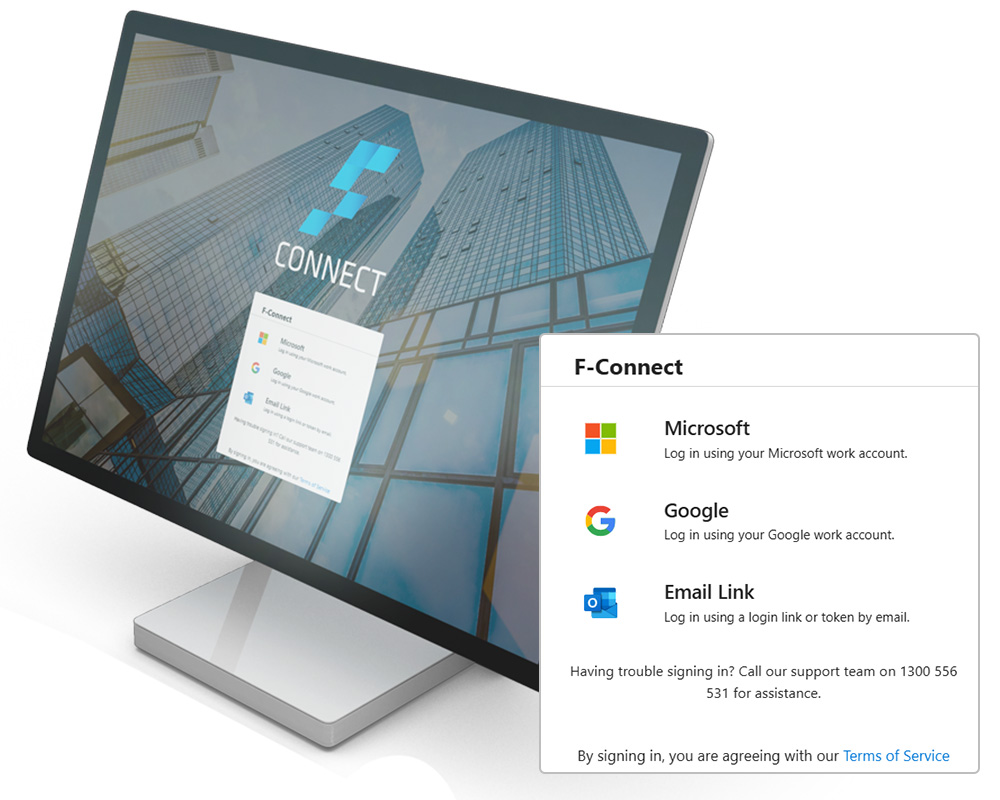
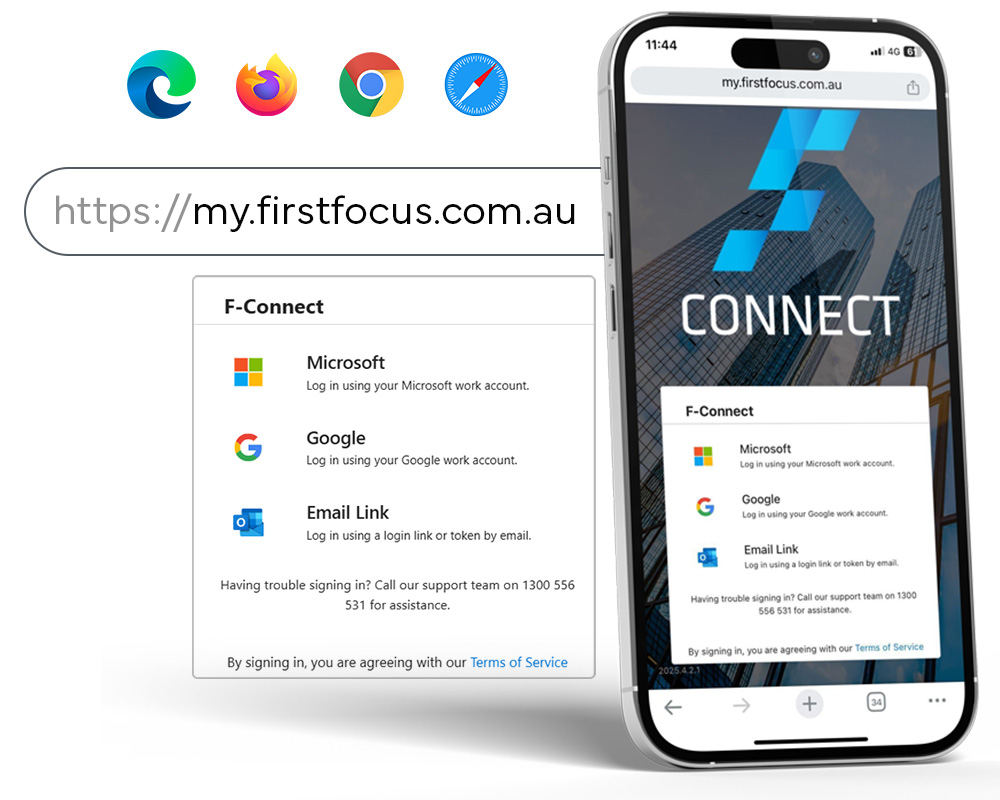
If you haven't used F-Connect before, start with the
first
section: "Access F-Connect".
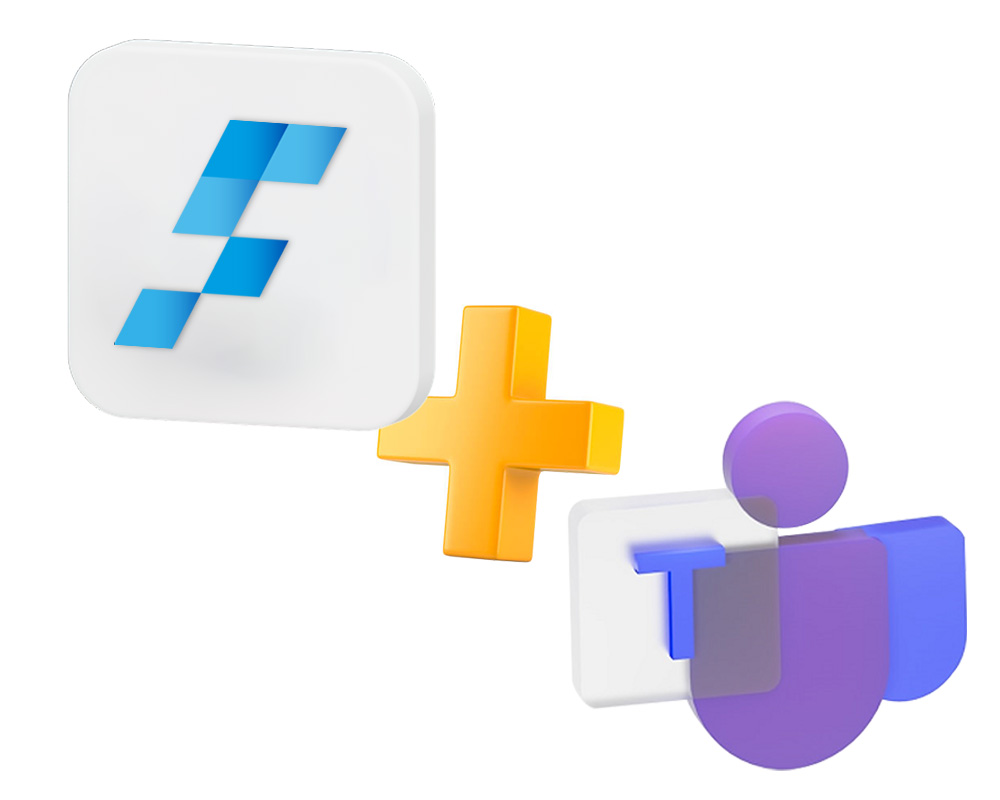
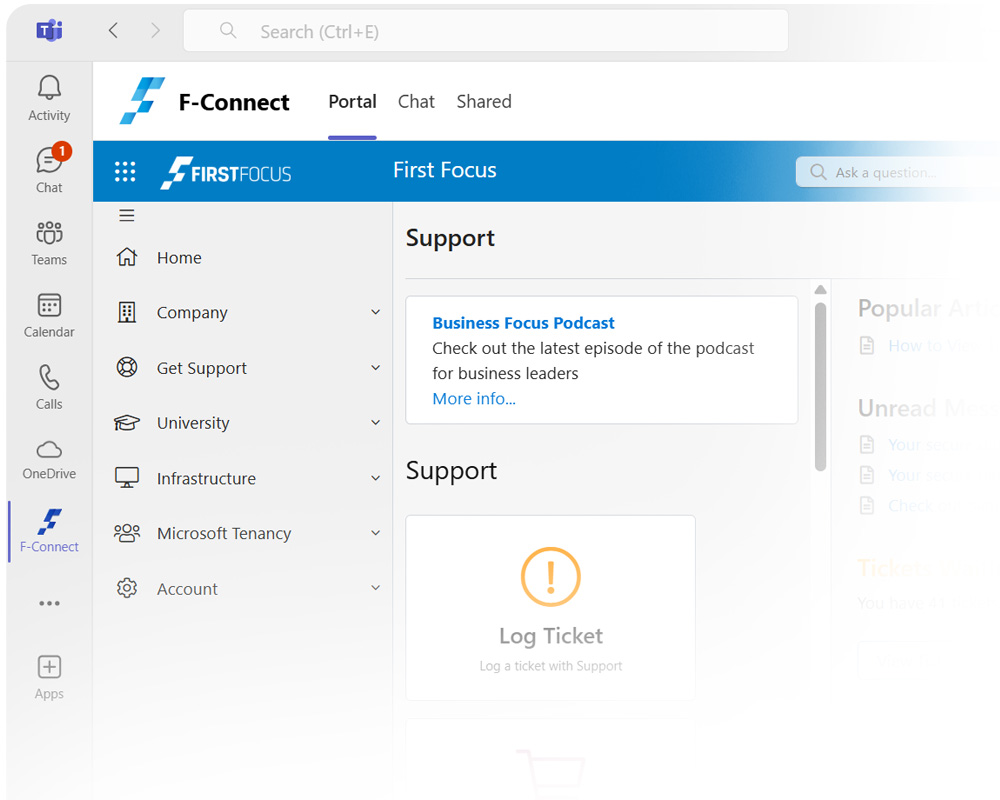
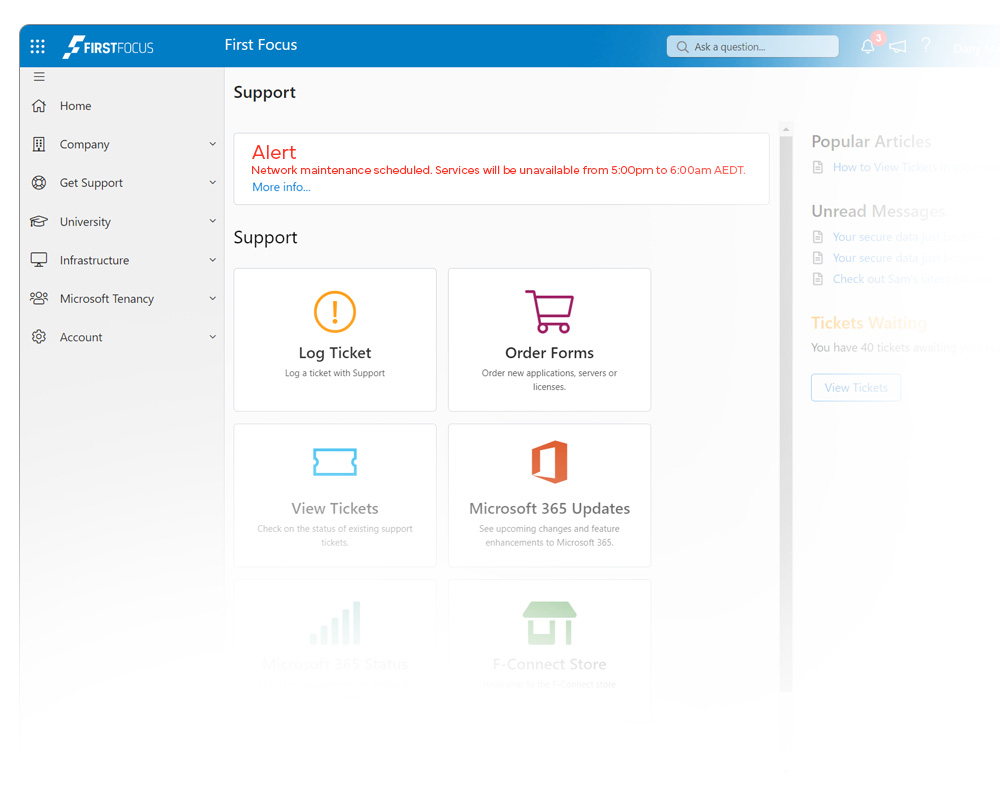
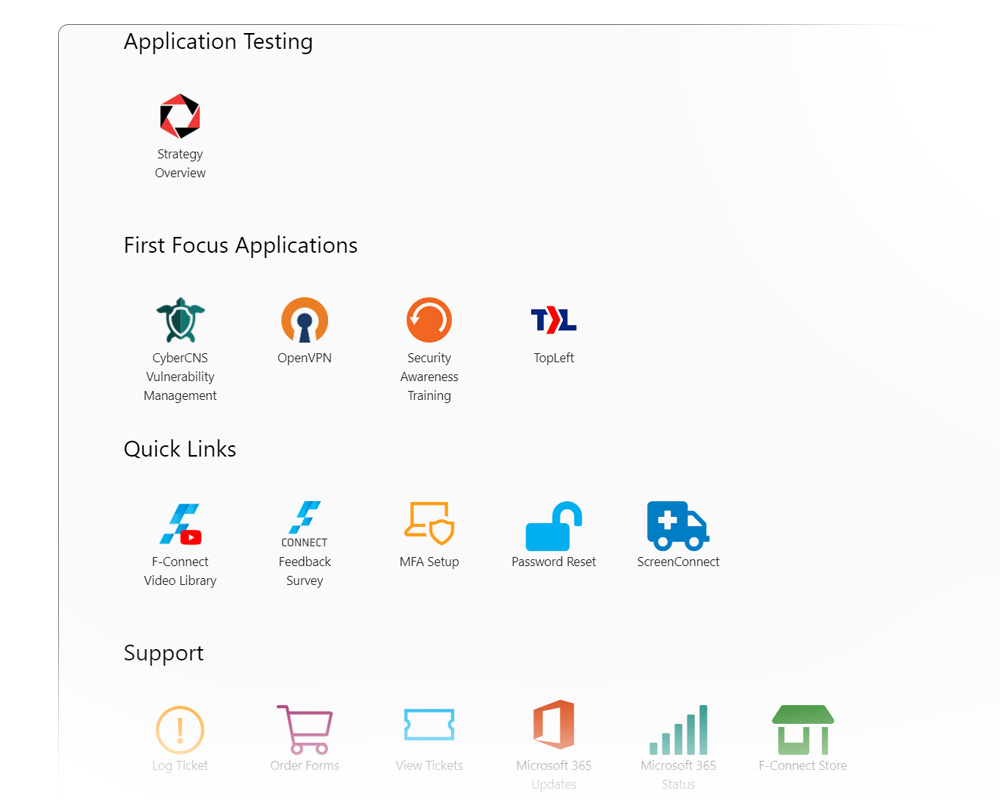
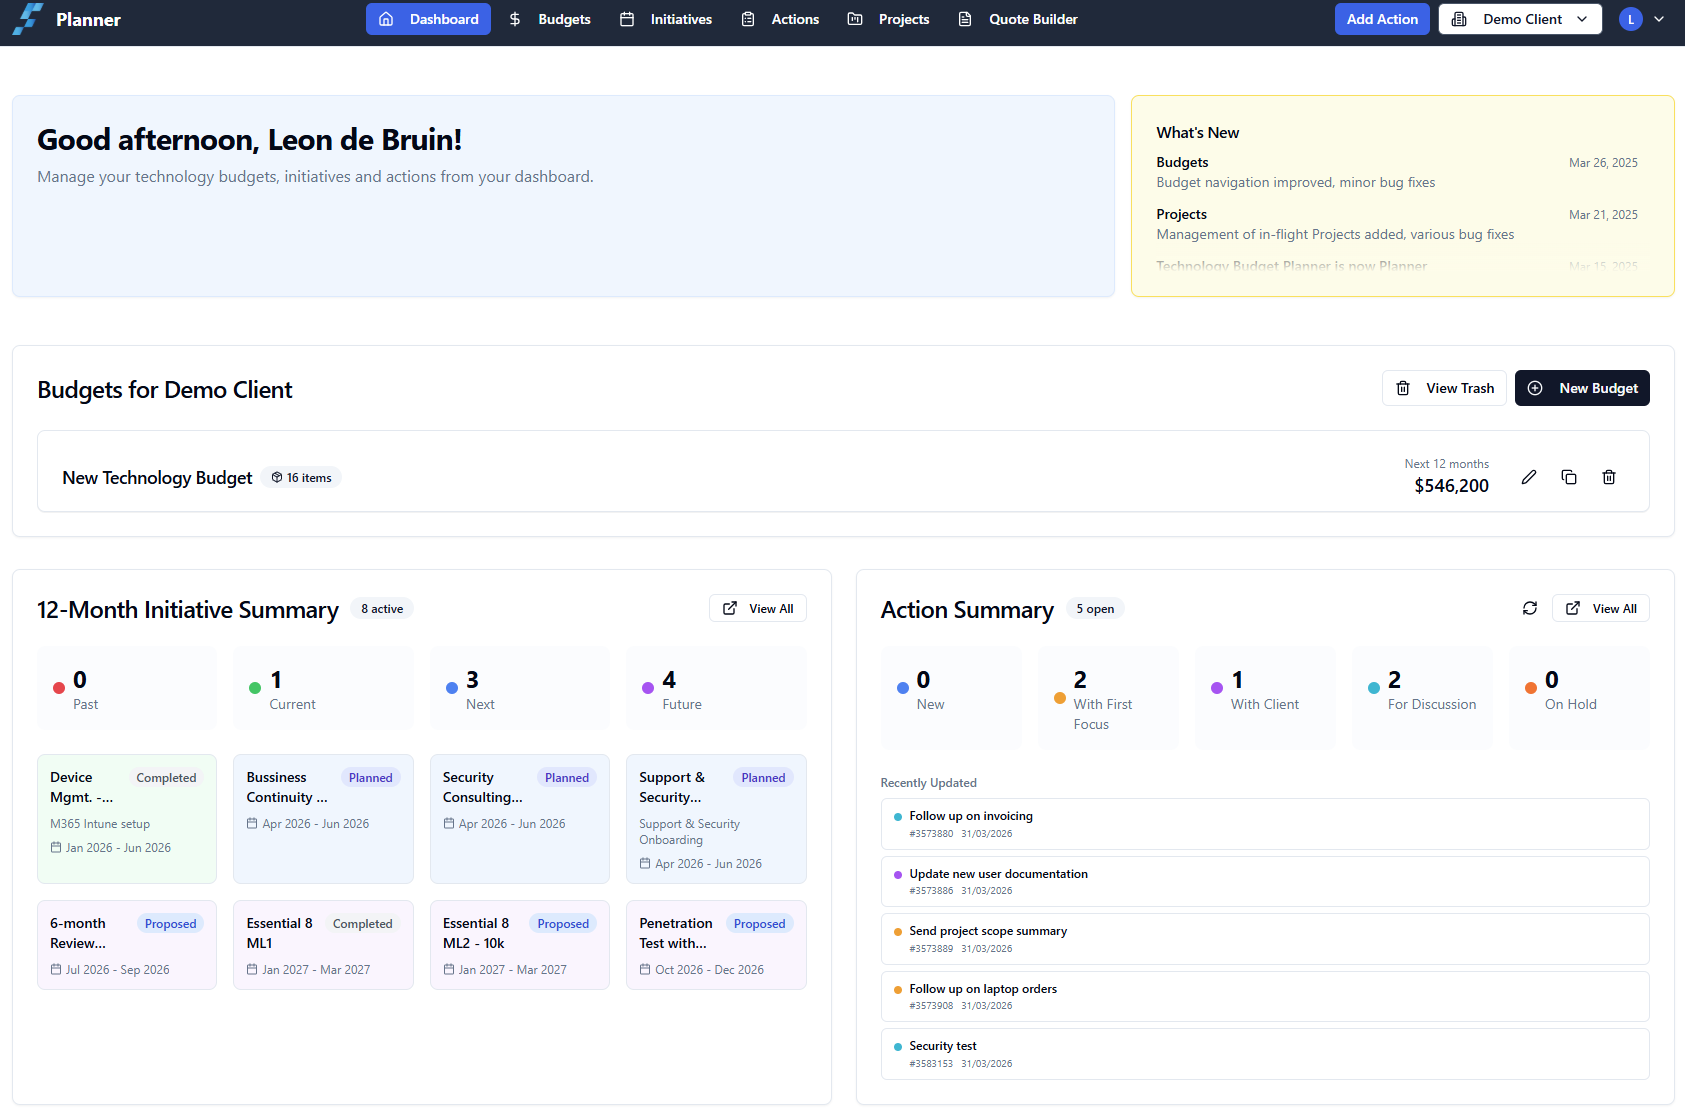
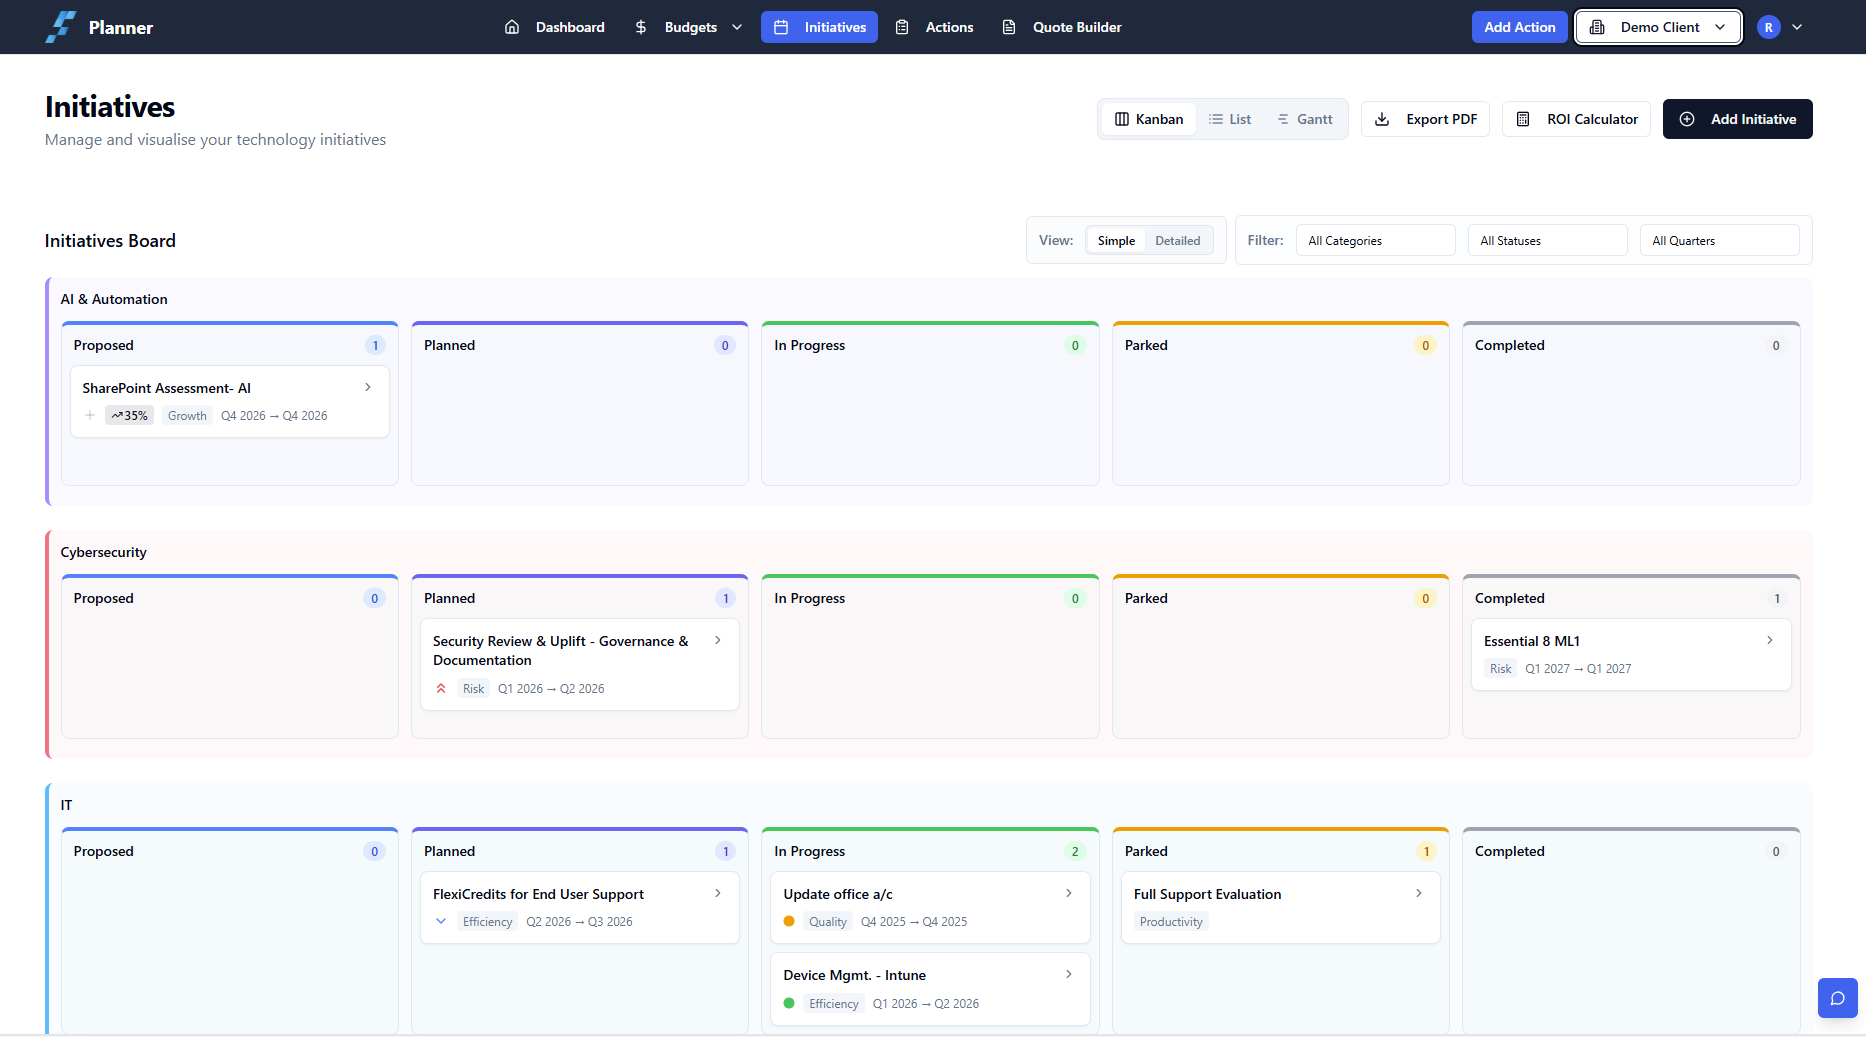
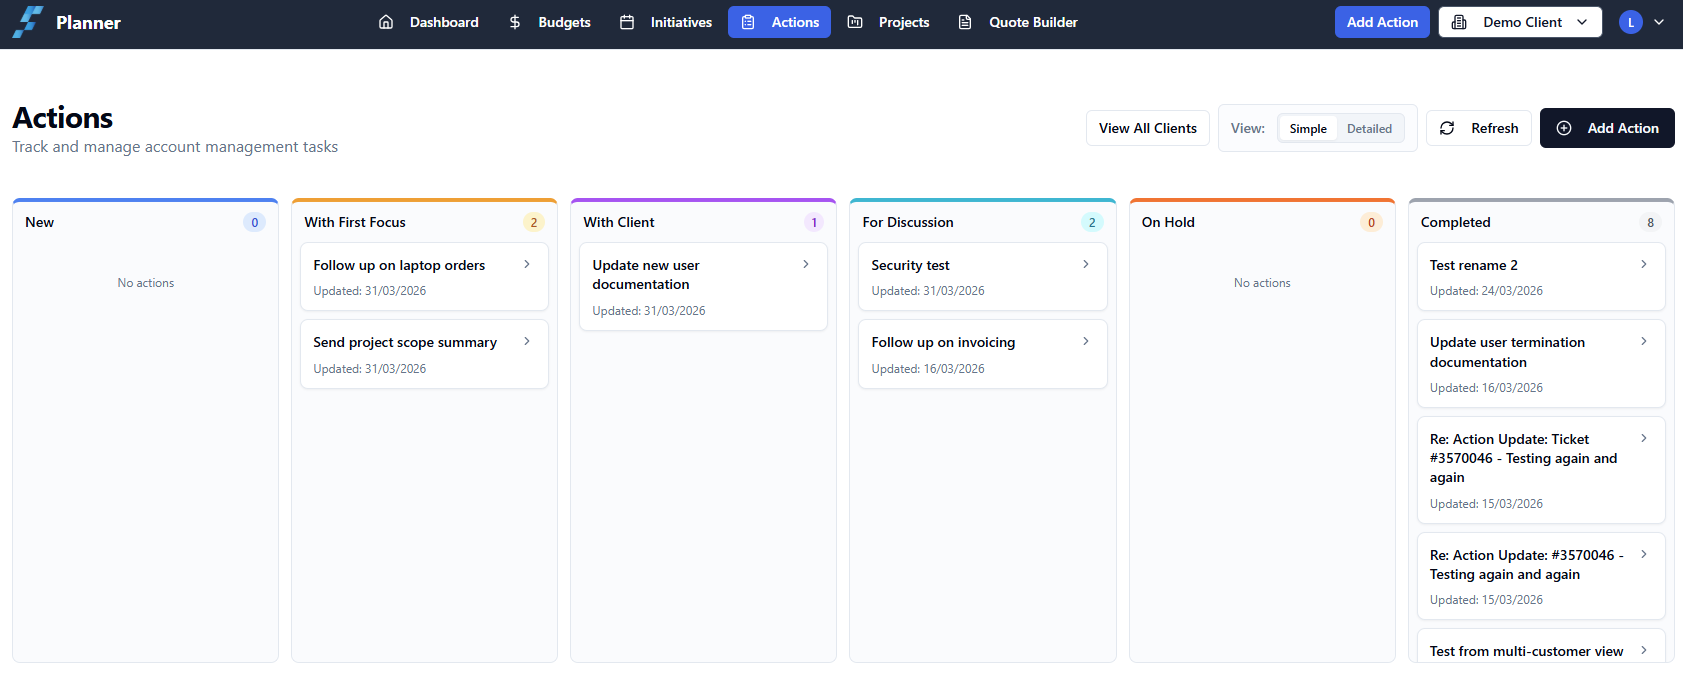
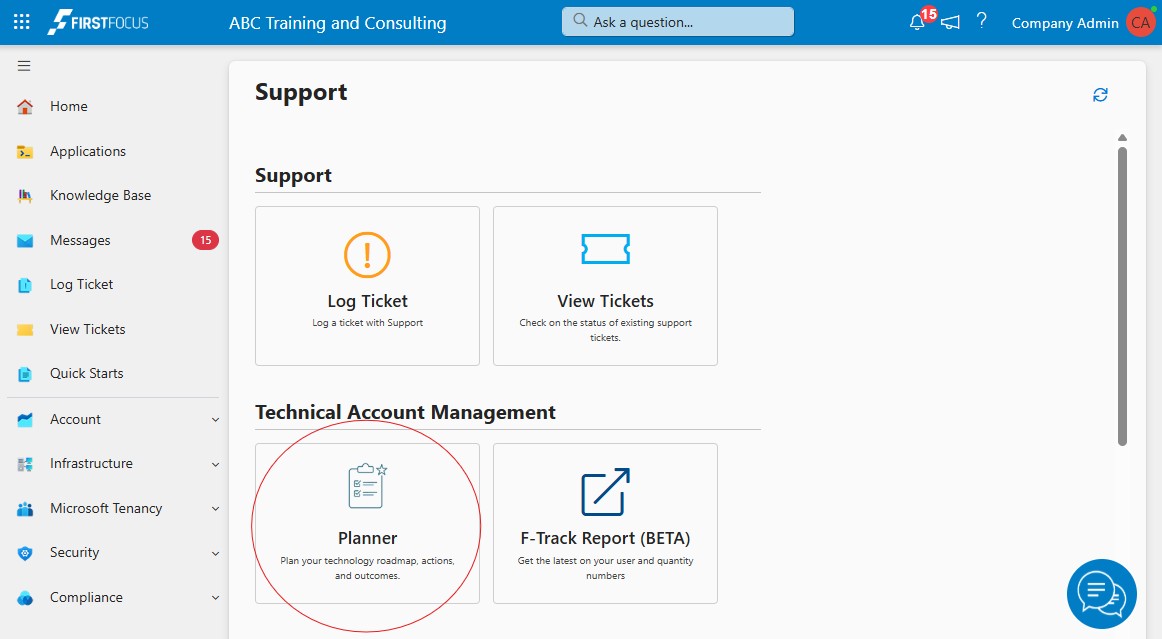
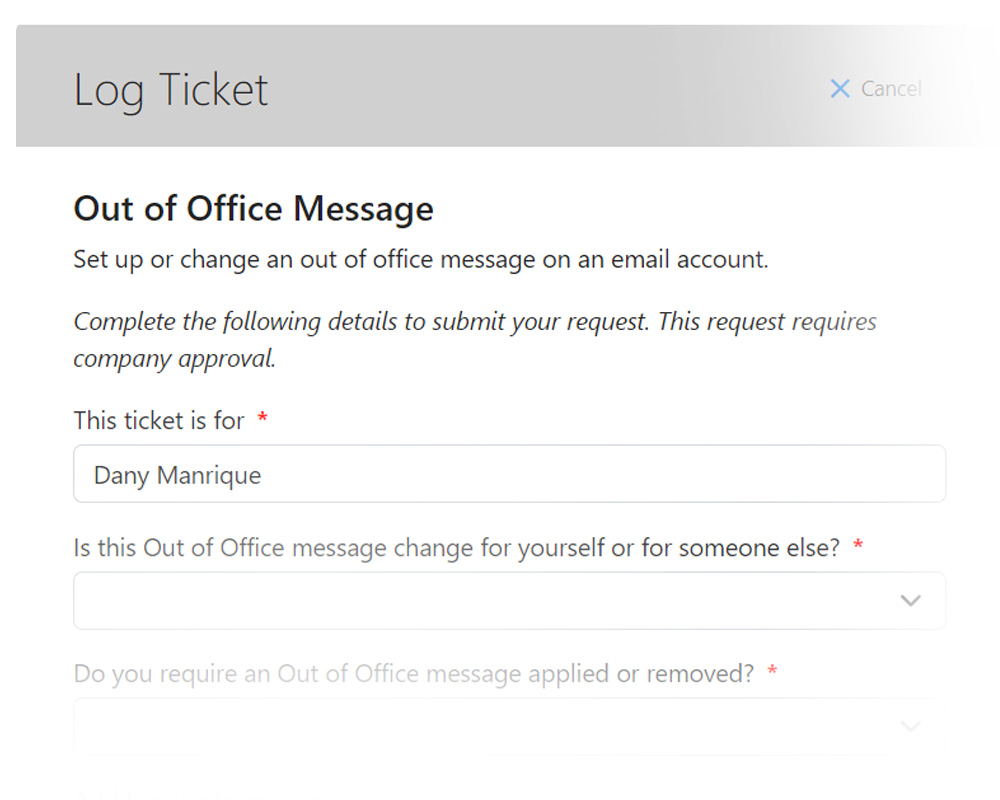
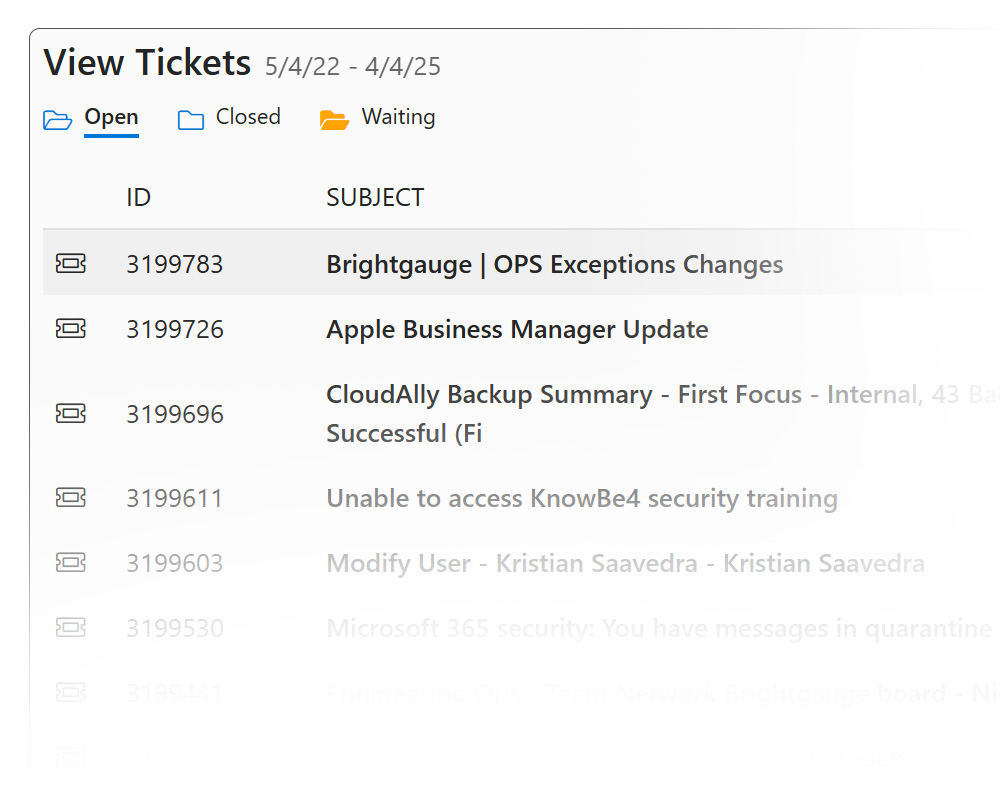
F-Connect: Everything You Need from First Focus in One Place
F-Connect gives you visibility over tickets, people, projects and strategy. All in one place, tailored to your business. Whether you're onboarding or scaling, it's how we stay aligned and accountable - and this manual shows you exactly how it works.